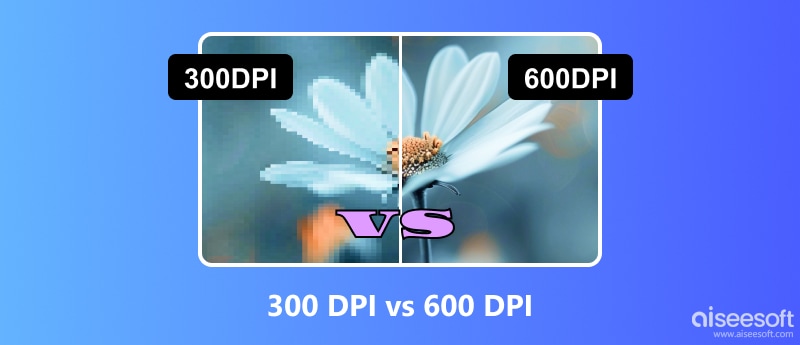
DPI is an important metric used to measure the quality of an image, and this standard is closely linked to image printing. The two most common values are 300 DPI and 600 DPI, which are applicable to different situations and have a significant impact on the picture presentation. So, what is the difference between the two? How do we choose between them? This article is to answer these questions. We will start with the theme of 300 DPI VS 600 DPI to talk about their differences in detail and in what circumstances they should be used. If you need to convert between the two, feel free to try our recommended tools.

DPI stands for Dots Per Inch, which is a measure of image resolution or print density. When we refer to an image being 300 DPI, it means that the image contains 300 dots of color per inch. 300 DPI is very common in our daily life. Our photos on social media or in our family albums are usually 300 DPI. This is a standard resolution that strikes a good balance between the quality of the image and the file size; that is, it provides a quality that meets most people's needs without causing the 300 DPI image file size to be too large for transmission and storage.
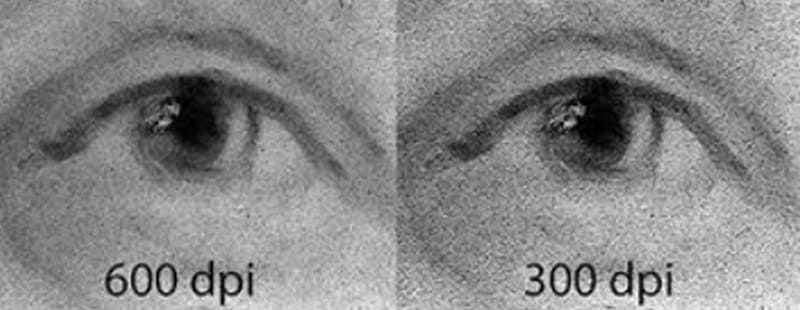
When we refer to an image being 600 DPI, it means that the image contains 600 dots of color per inch. It is important to note that the DPI value of an image is often proportional to its sharpness. So we can immediately realize that a 600 DPI image will be sharper than a 300 DPI one and will show more detail. Therefore, when producing more specialized content, people will tend to choose 600 DPI. When we make huge posters or business albums, we need the high quality provided by 600 DPI to ensure that the image is clear enough to give people a good sense of view. But accordingly, the file size of an image with a DPI value of 600 must be larger. However, it allows for an unparalleled display of detail. It's totally worth it for some professional designers and content creators.
In summary, when talking about 600 DPI VS 300 DPI, we can say that 300 DPI is standard for daily quality print materials, and 600 DPI offers even higher detail and clarity, especially for specialized printing requirements. The choice between 300 DPI and 600 DPI depends on the specific needs of the print project and the desired level of resolution and quality.
In the previous section, we talked broadly about what 300 DPI and 600 DPI roughly represent and how they differ. Next, let's explore how to choose between them. We will start from three common situations of image usage and analyze how we should select 600 DPI or 300 DPI.
The first scenario is printing photos. To choose this premise, you need first to determine the purpose of your picture so that you can get an answer by printing 300 DPI VS 600 DPI.
If you want to print pictures from your phone or camera at home, for example, as a souvenir or to create a family album, then 300 DPI will be sufficient. Generally, this type of image is reasonable in terms of image quality, and 300 DPI images are easier to use on a daily basis and take up only a little storage space on your device.
If you need to print commercial posters or create banners for business or marketing projects, then 300 DPI may be a bit out of place. The high quality provided by 600 DPI is what you need. Professional designers usually create such images and need to give the viewer a better visual experience. Moreover, posters and banners are generally printed in huge image sizes, so the clarity of the image is required to be very high.

If you want to share your everyday pictures or hand-drawn patterns on social media, then 300 DPI images in pixels is enough. People generally use mobile devices to share and view posts, and in this case, the images won't be enlarged to an exaggerated degree, and everyday clarity will suffice for our needs. Moreover, 300DPI images take up less storage space and are faster to upload and share, which also saves our traffic. All in all, 300 DPI width and height are the most suitable for social media platforms.
When it comes to digital art, the choice between 300 DPI and 600 DPI depends on the intended use and the level of detail required for the artwork. Next, we will talk about how to choose 300 DPI VS 600 DPI in digital art.
If you need to create some simple illustrations or basic graphic patterns, 300 DPI is a more suitable choice. The structure of these contents is relatively simple, and the requirement for clarity is not high. 300 DPI can provide smaller image sizes so that it is convenient for us to insert these digital images anywhere.
If you are producing complex illustrations, fine art prints, or sophisticated artwork, or if your work needs to be rendered on a larger screen, we recommend 600 DPI, which provides superior sharpness and resolution to ensure that no detail is blurred or lost in your work.
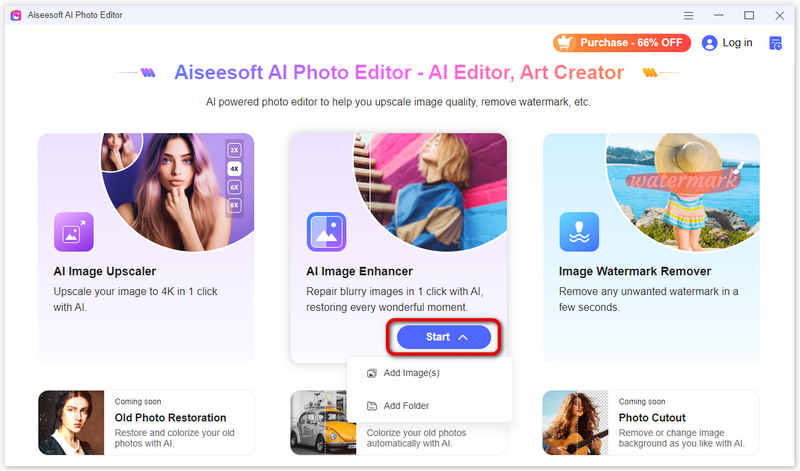
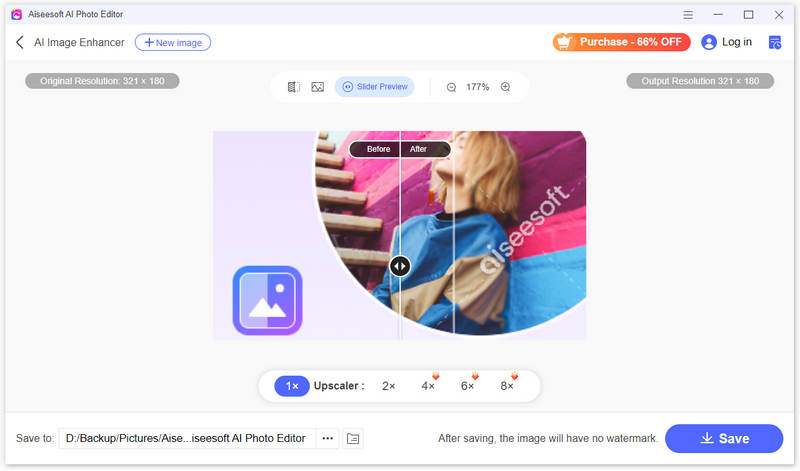
Now that we understand the purpose of 300 DPI and 600 DPI, we have also been able to give the exact choice when faced with 300 or 600 DPI scanning. Can we upscale the same image from 300 DPI to 600 DPI? The answer is, of course, yes, Editor de fotos AI da Aiseesoft can realize this operation perfectly. It uses advanced AI technology to improve the quality of your images automatically. Unlike other traditional image editing tools, you don't need to make any manual adjustments; upload the original image and get the enhanced result. In addition to this, you can also set your images to be enlarged up to 2X, 4X, 6X, and 8X. In addition to this most central feature, you can also use Aiseesoft AI Photo Editor to remove any watermarks on your images. It is so easy to use, even if you have never used it before. You will be able to go through the whole process very quickly.
100% seguro. Sem anúncios.
100% seguro. Sem anúncios.
Here is what you need to do to enhance images with Aiseesoft AI Photo Editor.

The program will run automatically to improve the resolution of your image. And you can preview the result in the window.

What DPI should I use for scanning photos?
When scanning photos, the DPI setting to use depends on the intended use of the scanned images. For most standard photo scanning purposes, a DPI setting of 300 is a good choice. If you want to print larger photos or high-quality prints, consider using 600 DPI. If you need to increase DPI of an image, try Aiseesoft AI Photo Editor.
Is 300 or 600 DPI better for drawing?
300 DPI is suitable for most digital drawing projects, providing a good balance between quality and file size. 600 DPI is ideal for digital drawings that require extremely fine detail and sharpness, such as textures or small elements.
Does 300 DPI use more ink than 600 DPI?
Higher DPI settings allow for more detailed and sharper prints. This increased level of detail may result in more intricate patterns or shading that require a higher density of ink.
Conclusão
This article answers questions related to 300 DPI VS 600 DPI. Not only do we list the differences between the two, but we also guide you through three scenarios on how to choose between 300 DPI and 600 DPI. If you need to convert between them, you can try our recommended tool, Aiseesoft AI Photo Editor.

Amplie e aprimore imagens em até 4K em lotes rapidamente com amplo suporte para vários formatos de imagem.
100% seguro. Sem anúncios.
100% seguro. Sem anúncios.