Everyone can snap a photo that looks amazing on your camera's screen. However, when you transfer it to your computer, you see unsightly grain. It can be incredibly frustrating, especially when capturing a special moment. Grainy photos are a common issue, and with a few simple techniques, you will know how to fix grainy photos and turn them into sharp, professional-looking images. This guide is accessible to everyone, from beginners to experienced photographers. We will also discuss fixing grainy photos without Photoshop on your iPhone and Android phones. Prepare to bid farewell to annoying sounds and welcome perfect images that truly capture the spirit of your moment!

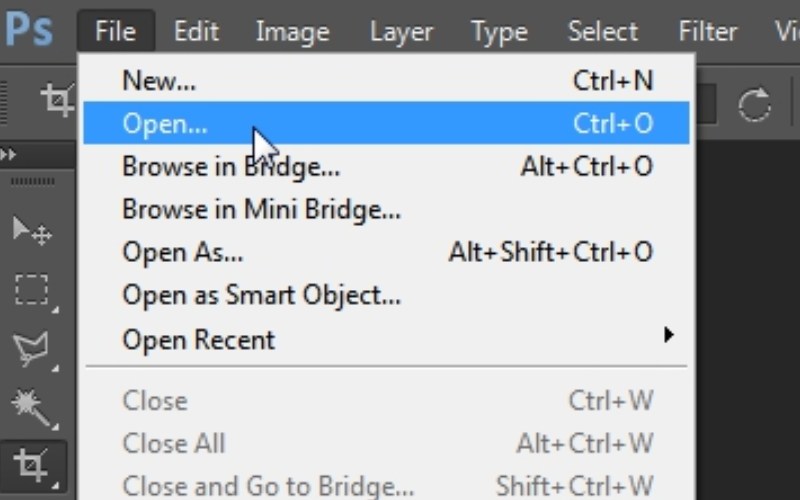
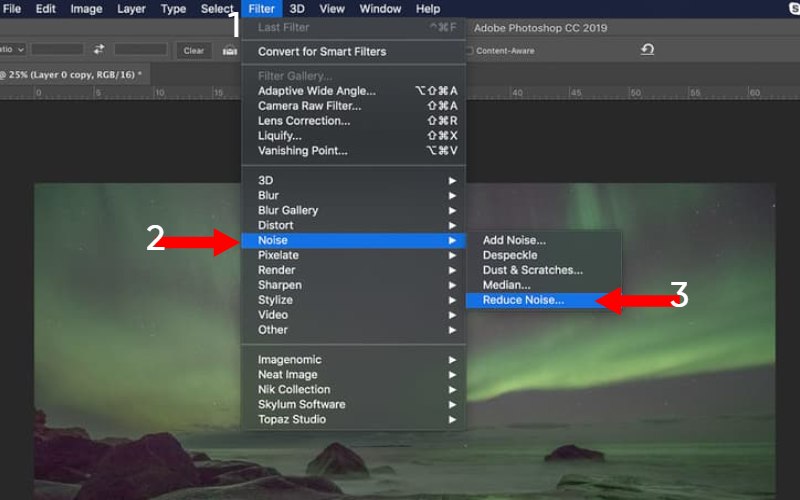
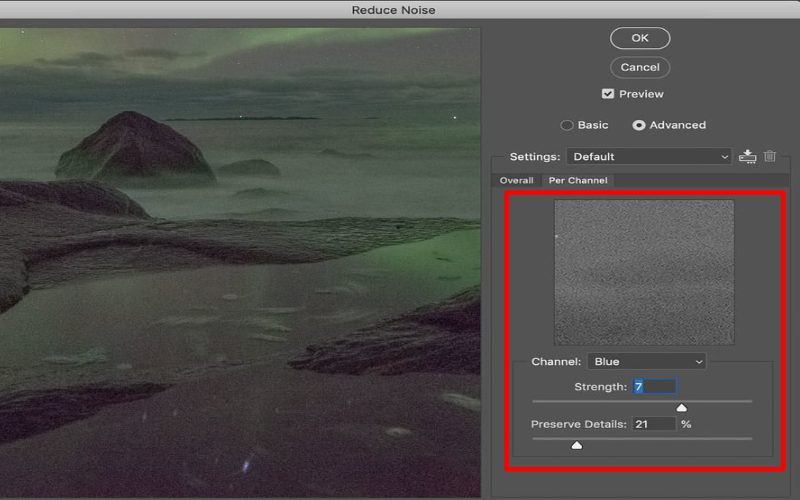
Have you ever taken a photo in the dark, only to find out it looked all grainy? It’s not that hard to achieve! Thanks to Adobe Photoshop, the most used photo editing tool, getting rid of that grainy look is easy. It has many cool features, like a noise reduction tool that works wonders. In this part, we will dive deep into how to make photos less grainy using Photoshop. We'll show you how to get familiar with the software, find out the tricks to eliminate that noise, and teach you how to make your photos clearer and sharper.
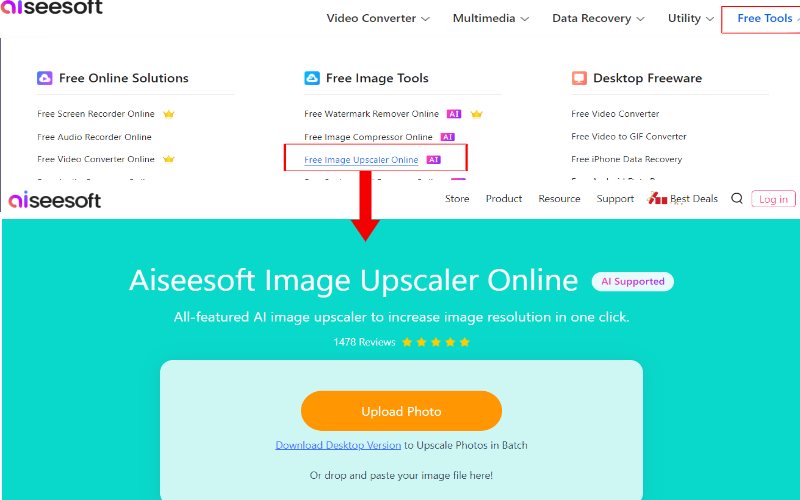
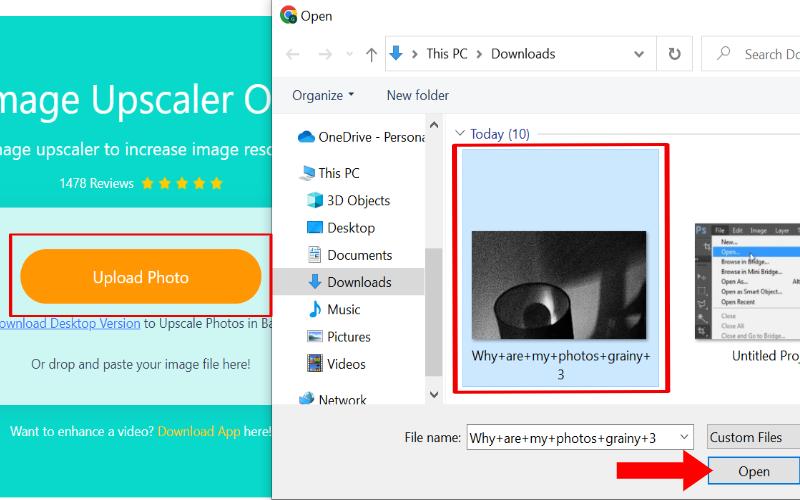
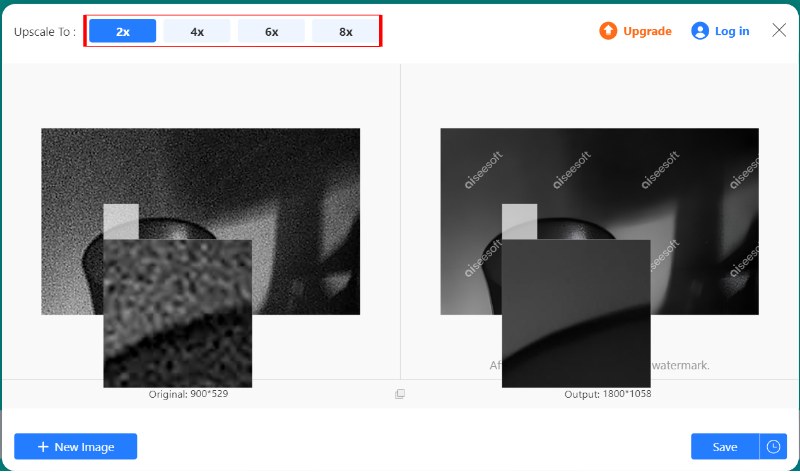
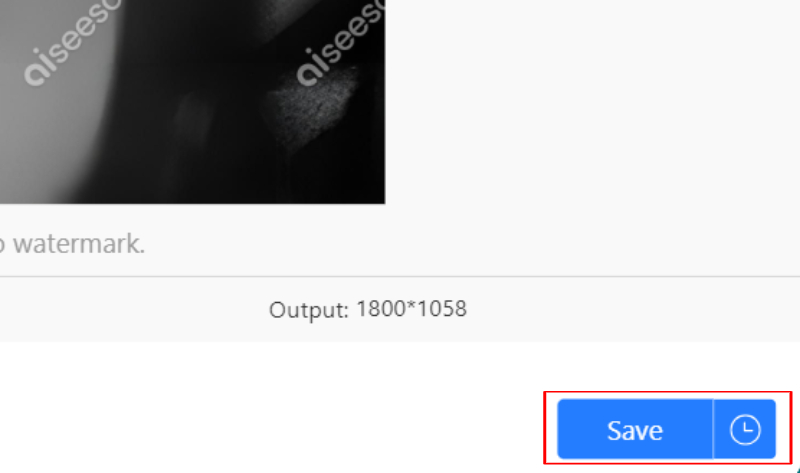
Only some people have access to top-tier editing software like Photoshop. If you're searching for an affordable and user-friendly solution to smoothen out grainy photos, Aiseesoft Image Upscaler Online is a great choice. This online tool leverages cutting-edge AI technology to address the grainy issue and significantly improve image quality with just a few easy steps. At the heart of the tool is its AI, crafted to detect and minimize noise in your photos, thereby lessening the grain's impact. In addition to noise reduction, Aiseesoft Image Upscaler enables you to increase the resolution of your photo. It boosts image clarity, potentially diminishing the graininess even more. Here are the steps on how to make photos less grainy in Aiseesoft!
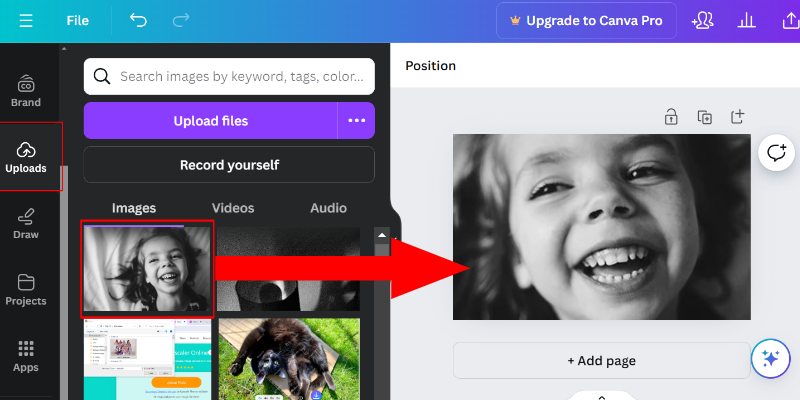
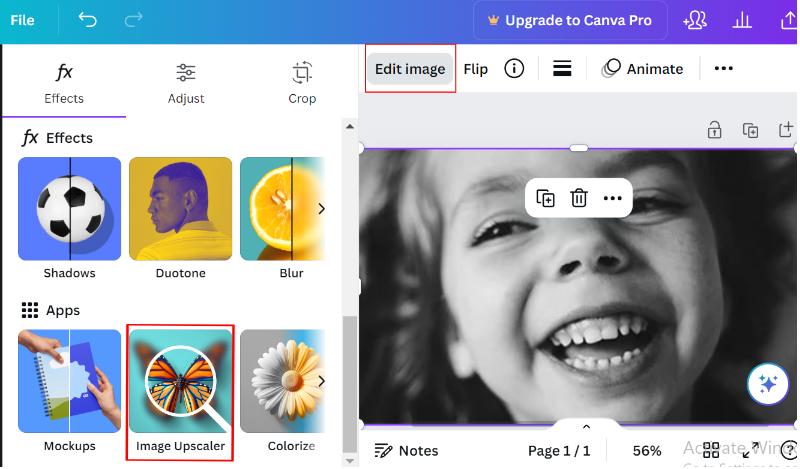
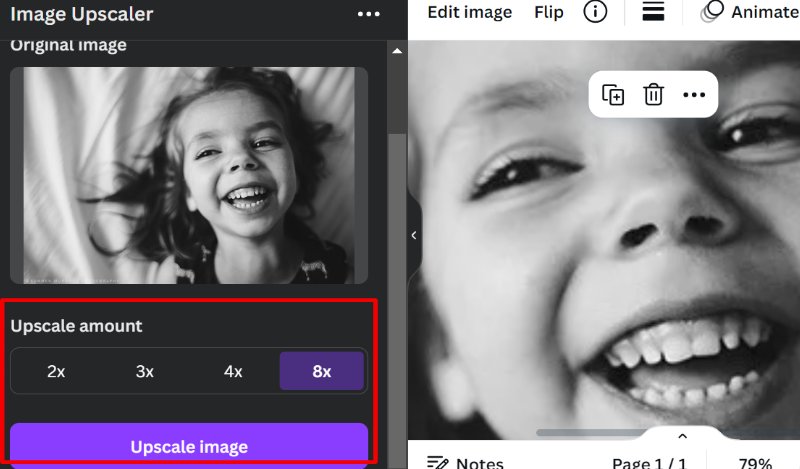
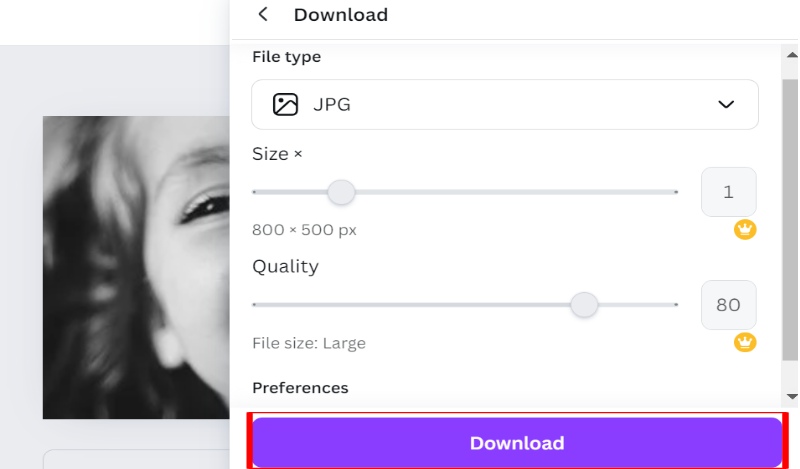
Canva, a popular online design tool, has surprised its users with its new feature, the AI image sharpener, which helps fix blurry photos easily. This tool uses AI to enhance the quality of images within the Canva app, making it easier to work with design projects by allowing for direct editing of photos without the need to send them to other software. Similar to Aiseesoft's AI upscaler, the Canvas tool reduces noise and improves the image's resolution, making it look better. So here’s the guide on how to make a grainy picture clear.

Ever had a photo look great on your phone but lose its quality when transferred to your computer? Adobe Lightroom Mobile, a free photo editing app for Android, solves this issue. You can also use Lightroom to improve photo quality. It's not just about filters; it offers advanced tools, especially a noise reduction function, for quick, on-phone editing. Lightroom Mobile is notable for its features, like free, essential tools, strong noise reduction, and easy-to-use interface. In this guide, we'll look at how to fix grainy photos in Lightroom to improve grainy photos to professional quality on your Android phone.
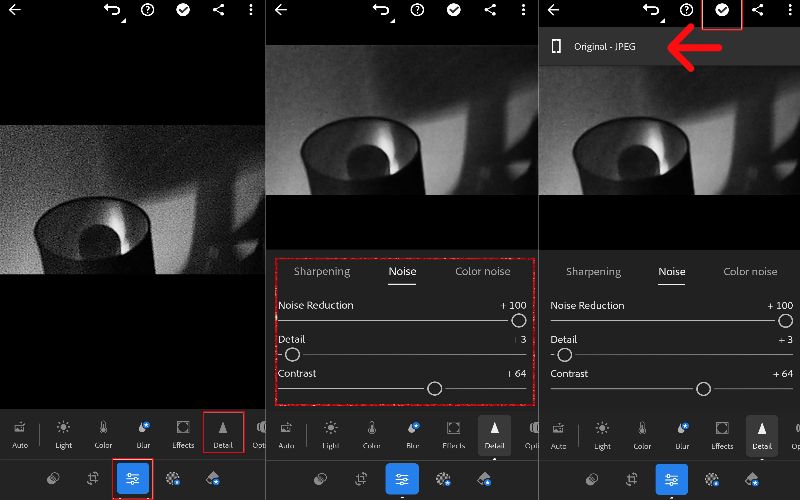
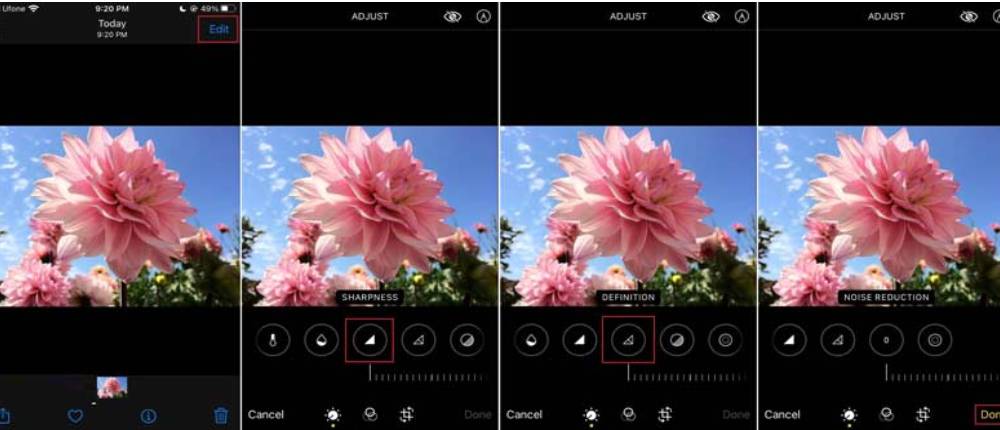
If you have trouble with grainy photos on your iPhone, the solution might be right in your pocket! The Photos app on iOS devices has basic but helpful editing tools, including noise reduction. You can use it to make a picture clear on iPhone easily. Choosing the Photos app to fix grainy photos is a good idea. You can use it right away since it's already on your iPhone. It has a simple tool for noise reduction that can make your photos clearer. It's easy to use on touchscreens. Here's how to fix grainy photos free in the Photos app!
Why do my iPhone photos look grainy when printed?
If your iPhone photos look grainy when printed, several factors could be to blame: Make sure the photo is clear and not too pixelated. Using high ISO levels can cause graininess, so keep it moderate. Check that the photo is clear enough for the intended print size. Begin with a clear and detailed photo. Opt for a top-notch printer and quality paper.
Why are my photos grainy?
Photo graininess, or noise, can be caused by making the camera more sensitive but often introducing grain, particularly in dim environments. The absence of fine details when enlarged can result in grain. Soft or inconsistent lighting can bring out noise. Used to decrease the file size can sometimes introduce noise. Decreased effective resolution can heighten the appearance of noise. Larger sensors tend to produce less noise. Too much editing can intensify the noise in an image.
What is grain?
The term grain describes the look or feel of small, visible particles or fragments within a photograph. It is usually seen as an unwelcome element of noise or blurriness. Grain usually presents as a series of minor dots or specks, which can result in the photograph seeming less refined and transparent. Grain is generally more prevalent in photographs taken with film but may also show up in digital photographs under specific circumstances.
Conclusão
Regardless of your level of technology skill or the tools you like to use, you now have a wide range of resources on how to make photos less grainy. You may be a Photoshop expert. Or, you may love editing photos on your phone. Or, you may prefer simple online options. This guide gives you the skills to get clear, noise-free photos. So, take on the challenge, preserve your memories, and forever say goodbye to the blur and noise!
 Top 5 Alternativas ao Dr. Fone para Android para Windows
Quer encontrar uma alternativa confiável ao Dr. Fone para Android? Aiseesoft Android Data Recovery é a melhor escolha para recuperar seus dados excluídos do Android, como contatos, mensagens, etc.
 Bate-papo do Bing | Um exame detalhado sobre o Bing: bate-papo com AI e GPT-4
O Bing Chat é um aplicativo popular que você pode baixar no Android e iOS. Mas agora vamos dar uma olhada mais de perto qual é o objetivo principal do aplicativo e como um chatbot de IA.
 Converse com estranhos com os aplicativos gratuitos e anônimos Talk to Stranger
Conversar com estranhos é possível, especialmente se você conhece os sites que pode usar. Combine com alguém com o mesmo interesse que você lendo isso!

Amplie e aprimore imagens em até 4K em lotes rapidamente com amplo suporte para vários formatos de imagem.
![]() 100% seguro. Sem anúncios.
100% seguro. Sem anúncios.
![]() 100% seguro. Sem anúncios.
100% seguro. Sem anúncios.
